How We Developed Our Own Wi-Fi Camera
It’s been several years since telecom operators started using Flussonic Watcher to launch subscriber video surveillance services. The services are designed for different target audiences, and one of the most challenging tasks for us has always been the launch of a subscriber service for B2C.
The most difficult and frequently asked question from our clients was: “Which camera should be placed on a store shelf so that subscribers can buy it, connect it via Wi-Fi to a router using a mobile application, and start using it with our service?”
At that time, we didn’t possess any specific camera product because of the complexity of requirements for B2C segment cameras. The market is overloaded with equipment from AliExpress, and subscribers are used to the fact that home cameras should:
- have a Wi-Fi interface for the router connection
- be able to be managed by a mobile application
- be a DIY-solution, thus be able to adjust settings manually
- have a convenient way to connect to a video surveillance account
Our B2C clients connect cameras to the video surveillance service account at the project commissioning. Engineers register an RTSP link to the stream from the camera or transfer the camera with the Flussonic Agent (the camera comes to Watcher automatically) to the subscriber’s account. These methods of adding a camera to an account require knowledge of video surveillance or administrator access to the service.
With B2C, these methods could not be used to build a service focused on the masses. The solution to the problem would be to provide our clients with a home Wi-Fi camera used as the main subscriber device in B2C services.

The search for the right camera manufacturer
First, we considered the option of working with Chinese factories. The idea was simple: first, we send Flussonic Agent files to be installed at the factory. Next, Flussonic would automatically connect to the Watcher server over the internet. Then, the Chinese factories would distribute cameras with our Agent to clients.
At that time, the Agent’s identifier had already been set, however, our Agent could only work with one Watcher server. Thus, for each client, we had to create a separate Agent, send it to the factory in China, install it in the firmware, and upload it to the cameras. This could cause complications in preparing Agents for each client, increase the risk of uploading the wrong firmware, and not having cameras properly programmed for the clients. We wouldn’t know in advance which client to send the cameras to and which server identifier should be sent with them.
After facing these problems, we started to look for the best-fit solution. We developed a universal Agent modification which would not be attached to any Watcher server. This new universal Agent waits for a command from our mobile application’s local network. The application gives the Agent all the necessary data to successfully connect to the Watcher server. This enables the Agent to appear in the subscriber’s account instantly after pressing the “Add” button.
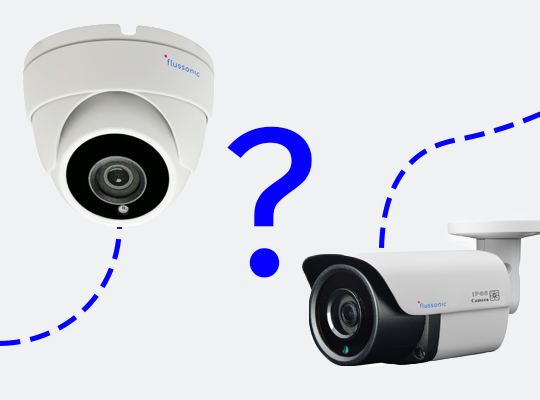
Therefore, Chinese factories received from us one Agent version and were able to pack it into the firmware, install it into a large number of cameras, thus having a warehouse full of properly programmed products ready for distribution. The cameras soon became very popular and started to be sold all over the world. One of the main pros of our cameras was that even if a client does not use Watcher, the Agent will not initiate connection until it receives a command from the application. The solution allowed us to avoid the problems mentioned above; however, it only solved the ones for wired video equipment, such as bullet and dome cameras.
The difficulties of connecting our QR code to Chinese cameras Chinese cameras usually use a QR-code or sound signal. A sound signal tells the camera the necessary settings to connect to the Wi-Fi network. Since we are developers of a mobile application, it is not an issue for us to get the Wi-Fi connection data from the phone and generate a QR-code. However, every Chinese camera is initially locked to the cloud. Even if we started generating QR-codes in the mobile application, the camera would recognize the codes and start connecting to Chinese servers.
We tried to negotiate with the manufacturers about changing the camera firmware on their part, so that the equipment could receive our QR-code format with data on the Wi-Fi network and the Watcher server. Since the negotiations did not lead to anything, we decided that we should develop our own firmware.
We had to find a decent camera to adapt to our IRIS firmware. For two months, we were scrolling through AliExpress and other platforms with Chinese suppliers. We ordered multiple samples, tested, and compared them. The price of the cameras was approximately the same. After looking at dozens of Wi-Fi cameras, we noticed a significant difference in the components, quality, and raw materials used. Also, we had a feeling that similar variability could be found in production processes. So we decided to visit the Chinese factories we liked to see not only the final product, but also to observe and analyze the entire production process.
We have visited 10 factories. The trips were productive and even rewarding - we understood how cameras are produced. But most importantly, we were able to choose a reliable factory we were confident in. Here are the main production features:
- All finished products are tested before shipment
- Workplaces are equipped and marked
- Staff receive daily instruction and regular training aimed at improving their qualifications
- The factory has its own SMD assembly line
- Staff wear proper uniform
- There are rules for maintaining hygiene in the workplace
- All processes are clearly described
After choosing the manufacturer, the only thing left to do was to adapt our IRIS firmware for the specific camera model and write the QR-code recognition algorithm. The algorithm allows the transmission of the wireless network parameters to the camera and launches the Agent activation. Our cameras use Hisilicon 3516 chips, and the firmware has already been adapted to it. We took a few samples at the factory, delivered them to our office, and got to work.
Adapting IRIS firmware to a new camera starts with the UART soldering. Thus, we get the opportunity to work with the camera file system directly. First, we download the current image of the file system. Then we need a specification for the used chipset and the SDK for it to adapt the firmware. The adaptation process boils down to establishing a connection between the high-level logic of the firmware itself and the low-level chipset.
Example: The IRIS firmware has a day/night transition mode. In order to implement the transition, we need to control the mechanical IR filter, which is managed by the chip. Accordingly, the chip needs to receive a command from the firmware to raise or lower the IR filter. The description and format of the commands lies in the SDK. We implemented a list of commands that needed to be sent to the chip for each firmware functionality. So, step by step, the IRIS firmware was adapted to the new camera chip. The whole process took approximately 2 months.
When the IRIS firmware was adapted for the camera, it needed to be tested. The camera was placed on the stand, connected to our IT infrastructure, and then it was ready to undergo automated tests. We also involved our most curious employees to assess the result of adaptation with a close gaze.

How Does the Camera Work?
It took us almost a year to create our own Wi-Fi camera for the clients who launch B2C video surveillance services. The camera is now ready for use.
The subscriber purchases a camera online or at the operator’s sales office. The camera has a stable base, a swivel mechanism controlled from a mobile application, and a bracket that can be placed on any surface. The power connector is connected to the camera using a standard micro USB.
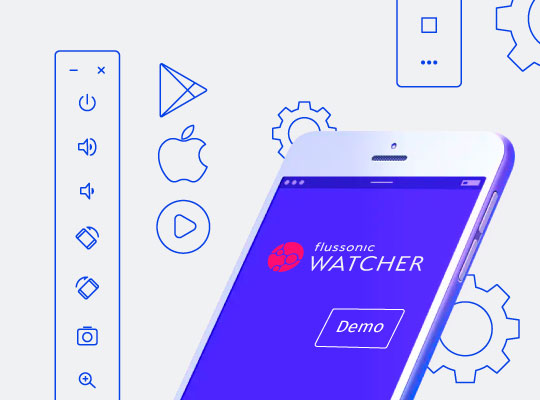
Our camera has two communication interfaces: wired Ethernet and wireless Wi-Fi. If the camera is connected via Wi-Fi, it can be connected to the wireless network and your Flussonic Watcher account using our mobile application. It contains the item “Add camera”, where you need to enter the password for the Wi-Fi network. Then you need to select a preset. After that, the mobile application generates a QR-code that must be shown to the camera. The camera reads it, connects to the Wi-Fi network, and appears in the subscriber’s account. Finally, it is ready to work and can be controlled from the mobile and web applications. The following functions are available:
- watching videos live or from the archive
- motion detection
- swing control
If something goes wrong, the camera will warn you and tell you what to do. By the way, voice messages in our firmware are completely customizable. If customers don’t like them or want to translate them into another language, there is an easy way to do it. Leave us a message and we will send you JSON. You will need to enter phrases in the desired language, and we will send the firmware assembled with custom dubbing. Additionally, there is the option to brand the camera body and box.
Flussonic Wi-Fi cameras are a great choice to use for projects related to the launch of subscriber B2C video surveillance services. If you are interested in our camera, you can test it by contacting us.
Contact Us


